
Stone Veneer Fireplace Remodel & Refacing in Colorado Springs
Reface an Existing Fireplace Surround Without Tearing It Out
Stone veneer, manufactured stone, or tile - material matched to your existing firebox, clearances, and room
- CSIA-certified technicians
- Clearance checked per NFPA 211
- Applied over prepared, structurally sound substrate
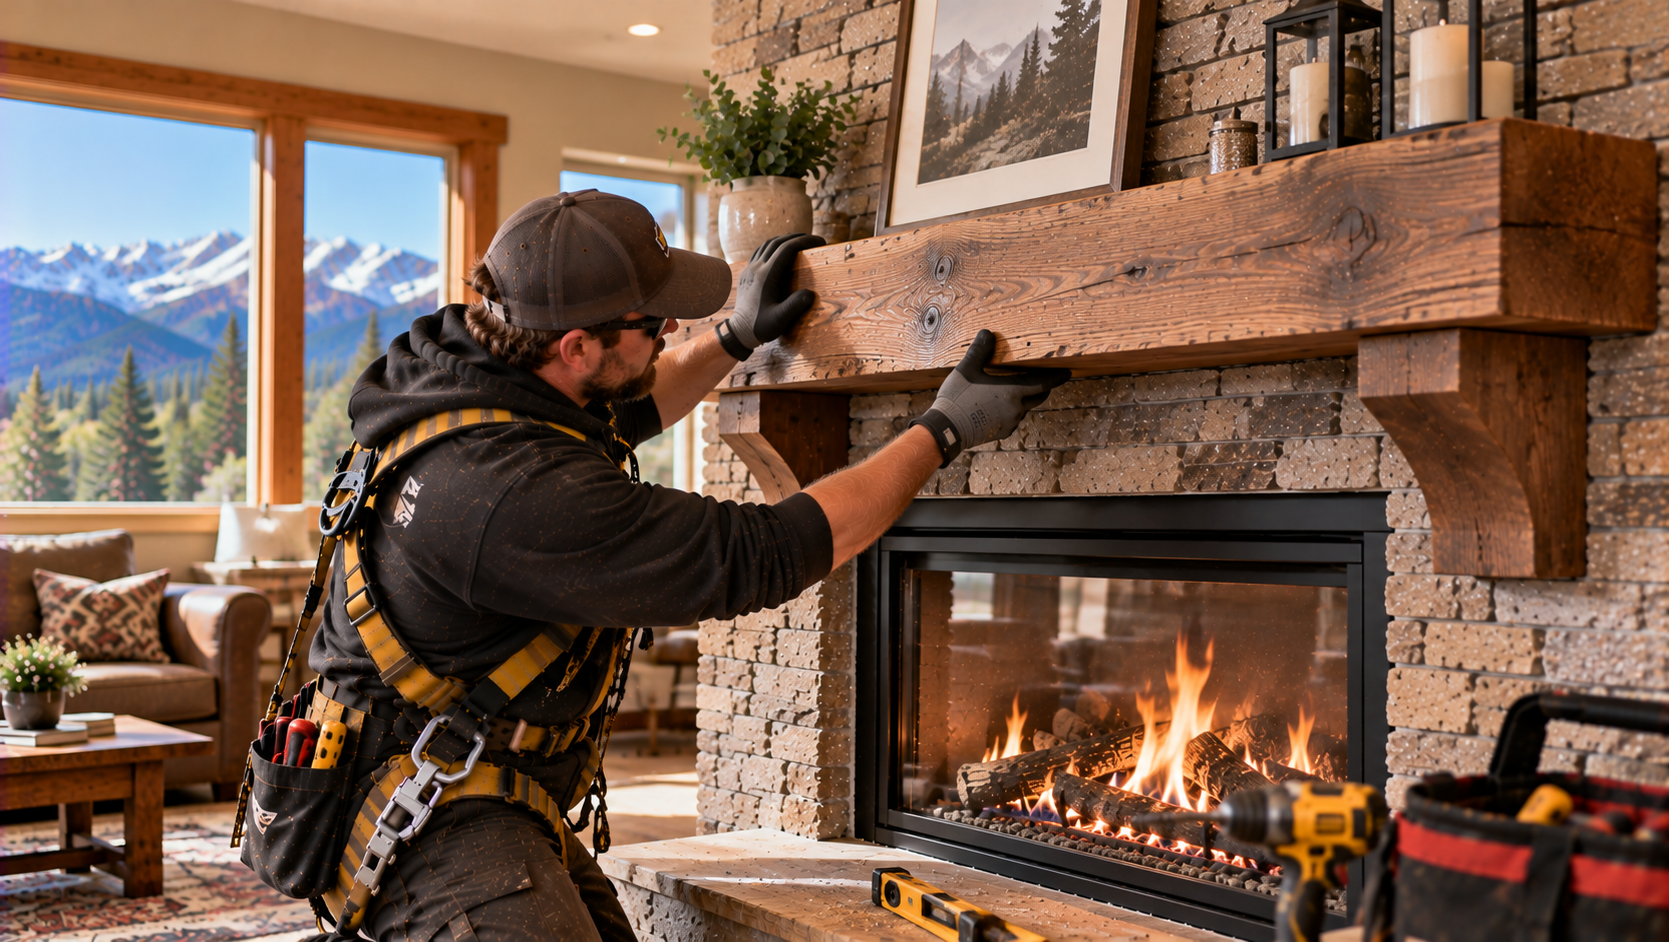
The Right Reface Starts With the Right Assessment
Stone veneer refacing means working with the fireplace you have, not the one in a showroom catalog.
When the rest of a living room gets updated, an outdated brick or tile surround can drag the whole space backward. Full fireplace replacement feels like the obvious fix, but it usually isn't necessary. If the firebox and masonry behind the existing surround are structurally sound, refacing with stone veneer is a straightforward path to a new look without the cost and disruption of a full tear-out.
Before any material goes on the wall, two things have to be confirmed. First, clearance to combustibles: the minimum required distance between any combustible material and the firebox opening, governed by NFPA 211 and your specific fireplace or insert manufacturer. Adding veneer thickness changes that dimension, so it has to be recalculated. Second, the condition of the existing firebox and masonry. Cracked mortar joints, spalling brick, or a deteriorating firebox are problems that need to be fixed before anything is applied over them.
We assess before we reface. Every project at Chimney Sweep Colorado Springs starts with a look at what's already there - not with material selection.
6,035 ftColorado Springs elevation
Colorado Springs Fireplaces Have a Specific Refacing Challenge
Older Colorado Springs homes often present refacing conditions that generic installation guides don't cover.
In established neighborhoods across Colorado Springs, fireplaces were built to builder standards that varied from project to project. Existing brick surrounds may be slightly out of plumb, firebox openings may not be centered on the wall, and the faces around the opening may project unevenly. None of that rules out refacing, but it does mean the new veneer installation has to account for it rather than assume a flat, square starting surface.
There's also the question of what's behind the existing surface. Some older surrounds were built with minimal substrate behind the brick or tile face. If that substrate isn't adequate to support the weight of a stone veneer system, it has to be addressed before the new material goes on. Skipping that step leads to cracking, shifting, or veneer that separates from the wall.
Colorado's dry, high-altitude climate is worth factoring in too. Low ambient humidity affects how mortar and setting materials cure, and how certain veneer products perform over time. We account for those conditions when specifying materials and installation methods.
What a Proper Refacing Assessment Actually Looks Like
A good veneer reface is a masonry job before it's a design decision.
Take a common example: a solid brick surround, painted years ago, being refaced in stacked stone. The brick is sound, but several details need sorting before anything new goes on.
- 1Painted brick surfacePainted brick needs preparation. Paint creates a bond-breaking layer between the old substrate and new setting material, so the surface has to be mechanically prepared before any veneer adhesive or mortar can be applied reliably.
- 2Clearance affected by veneer thicknessAdding stone veneer to the face of the surround reduces the clearance between the new surface and the firebox opening. That dimension has to be recalculated against NFPA 211 and the fireplace manufacturer's specifications before the material thickness is finalized.
- 3Gas insert and existing mantelA gas insert with a surround panel, or a wood mantel above, has to be temporarily removed or worked around so the veneer can run continuously behind it, then reinstalled against the new surface.
- 4Uneven brick faceAn existing brick face often varies in projection across the surface. The veneer layout has to be planned to minimize the visual effect of that unevenness rather than simply following the brick face directly.
- 5Surface prepped, veneer applied in sequenceThe surface is ground and scarified to improve adhesion, a scratch coat goes on where needed, and the veneer is laid from the bottom up with consistent joint spacing. The insert surround and mantel are then reinstalled against the finished surface.
That sequence doesn't show up in a product brochure, but it's the difference between a reface that holds and one that fails in the first heating season.
Material Selection for Veneer Refacing Is a Practical Decision, Not Just a Visual One
The right veneer material depends on your existing substrate condition and clearance math, not just your design preference.
A common question we get: "What's the difference between real stone and manufactured stone veneer?" Both are legitimate options, and each brings its own set of installation variables. Here's a plain-language breakdown:
Natural Stone Veneer
- Best for: Rustic, traditional, or high-end contemporary designs; irregular texture and variation
- Colorado climate: Dense and durable in low humidity; heavier, so substrate condition matters more
Manufactured Stone Veneer
- Best for: Consistent profiles, broader color range, lighter weight than natural stone
- Colorado climate: Less weight on the substrate; still requires proper surface prep and setting materials rated for the application
Thin Brick Veneer
- Best for: Updating a dated tile or painted surround with a traditional look
- Colorado climate: Non-combustible, but grout joints and setting mortar still need to be rated for fireplace-adjacent use
Large-Format Tile
- Best for: Contemporary designs, smooth or textured face; often used on the firebox surround face only
- Colorado climate: Fewer grout lines to maintain; substrate flatness is more critical with larger formats
The surround face is the material applied directly around the firebox opening. A mantel shelf or decorative structure above it is a separate component. When a reface project involves both, clearance distances and fastening methods are addressed independently for each.
How We Handle Every Stone Veneer Reface Project
Our refacing process is built around your existing firebox condition, clearance requirements, and substrate preparation. Our standard quality checks on every stone veneer reface:
- Firebox and existing masonry inspected for structural condition before any surface work begins
- Clearance-to-combustibles distances recalculated with new veneer thickness per NFPA 211 and fireplace manufacturer requirements
- Existing surface assessed for adhesion suitability; mechanical prep performed where needed
- Gas inserts and insert surrounds documented and worked around or temporarily removed as needed
- Existing mantels evaluated for reuse against the new veneer surface and reinstalled correctly
- Setting materials selected to match the veneer type and the fireplace-adjacent thermal environment
- Final installation checked for consistent joint spacing, full adhesion, and proper transition at the firebox edge
Condition assessment before surface prep. Surface prep before veneer. That's the order it has to happen.
Our Refacing Process
Site Assessment and Condition Check
We start with a thorough look at the existing firebox and surround. That includes the firebox interior for cracks or deterioration, the existing surround surface for adhesion suitability, and the clearance dimensions from the firebox opening to the existing and proposed new surface. We also note the location of any gas inserts, insert surrounds, or existing mantels that will need to be worked around.
Surface Preparation and Veneer Application
Surface prep comes before any veneer goes on. Depending on the existing surface, that may mean grinding, scarifying, applying a bonding agent, or installing a scratch coat. Gas inserts and mantels are removed or protected as needed. Veneer is then applied from the bottom up, with joint spacing and layout planned for the specific material and the dimensions of the surround.
Final Verification and Reinstallation
Once the veneer is set, we walk through clearance distances, check the transition at the firebox edge, and confirm the joint work is consistent. If a gas insert surround or mantel was removed during the project, it's reinstalled against the new surface and checked for fit and clearance. Nothing is finished until the reface is solid and the surround looks the way it should.
Areas We Serve in Colorado Springs and Beyond
We handle stone veneer refaces and fireplace surround refacing across the Pikes Peak Region.
- Rockrimmon
- Old Colorado City
- Stratmoor Hills
- Woodmen Hills
- Falcon
- Black Forest
- Briargate
- Monument
- Manitou Springs
- Fountain
- Security-Widefield
- Castle Rock
Our team works throughout Colorado Springs - from Rockrimmon, Old Colorado City, and Stratmoor Hills to Woodmen Hills, Falcon, and Black Forest. We also serve Monument, Manitou Springs, Fountain, Security-Widefield, and Castle Rock. Call us to confirm availability in your area.
Ready to Update That Outdated Fireplace Surround?
Refacing with stone veneer can change the look of your fireplace without the cost and disruption of a full replacement - but only if the firebox and substrate are assessed first.
Call Chimney Sweep Colorado Springs at (720) 505-5030 or email info@chimneysweepscoloradosprings.com to schedule your refacing consultation. Let us know what your existing surround looks like and we'll take it from there.
Frequently Asked Questions
Call and talk to the team directly.
Call (720) 505-5030Cost depends on the existing surface condition, the veneer material selected, and the scope of prep work required. Call (720) 505-5030 for a project estimate. Every quote starts with an on-site look at the firebox, surround dimensions, and clearance distances, since all of those affect what the job actually involves.
Yes, refacing can be done around both. The insert surround and mantel are removed or protected during prep and veneer application, then reinstalled against the new surface once the veneer has set. Fit and clearance are checked before the project is closed out. The key is confirming clearance distances before any material is selected or ordered.
Yes, we can work with a customer-supplied veneer material, but the dimensions and weight of the product need to be reviewed against your existing surround surface first. Some materials require additional substrate prep or a scratch coat that others do not. We recommend confirming your surround dimensions and surface type with us before you purchase.
Clearance-to-combustibles is the difference. A tile contractor fits material to a wall surface. We start with the firebox opening, calculate clearance distances to the new finished surface per NFPA 211, and check the firebox interior before any prep begins. That sequence matters because adding thickness to a surround can bring a combustible surface closer to the firebox opening than it should be.
Colorado's low humidity and temperature swings affect mortar joints and the bond between veneer and substrate differently than in more moderate climates. Proper surface prep and the right bonding approach for the existing substrate matter more here than in areas with stable humidity. We factor local conditions into how the substrate is prepared and how joints are finished.
The firebox condition is assessed before any reface work starts. A reface addresses the outer surround surface, not the firebox interior. If the firebox has significant cracks, deterioration, or liner issues, those need to be resolved first. A reface on top of a compromised firebox does not fix the underlying problem. We check the interior during the initial site visit and tell you what needs to happen before the reface can proceed.